ADVERTISEMENT
- Prepare the Yeast Mixture
In a small bowl, combine the warm water and sugar. Sprinkle the active dry yeast over the top and gently stir. Let it sit for about 5–10 minutes until it becomes foamy. This is a sign that the yeast is active.
Step 2: Make the Dough
- Mix the Dry Ingredients
In a large mixing bowl, whisk together 3 1/2 cups of flour and salt. - Combine Wet and Dry
Add the yeast mixture and softened butter to the flour mixture. Use a wooden spoon or spatula to mix until a sticky dough begins to form. - Knead the Dough
Sprinkle a clean surface with a bit of the remaining flour, then turn the dough out onto it. Knead for about 8–10 minutes, adding the remaining flour as needed, until the dough is smooth and elastic. It should be slightly tacky but not sticky.Tip: If you have a stand mixer, you can use the dough hook attachment and knead on low speed for about 6–8 minutes.
Step 3: First Rise
- Prepare for Rising
Grease a large bowl with a bit of butter, then place the dough in the bowl, turning it once to coat the top with butter. Cover with a clean kitchen towel or plastic wrap. - Let the Dough Rise
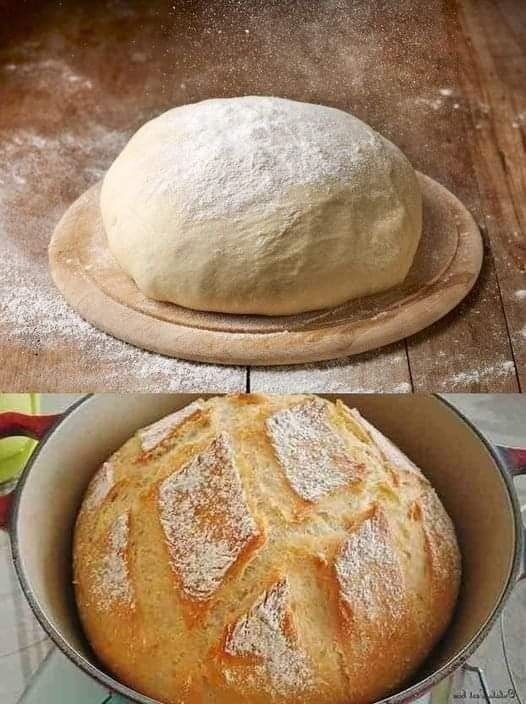
Allow the dough to rise in a warm, draft-free spot for about 1–1.5 hours or until it has doubled in size.
Step 4: Shape the Dough
- Punch Down the Dough
Gently press down on the dough to release any air bubbles that have formed. - Shape into a Loaf
Turn the dough onto a lightly floured surface, then shape it into a rectangle. Roll it up tightly from the short end, tucking the edges as you go to form a loaf shape. - Prepare the Loaf Pan
Grease a standard 9×5-inch loaf pan with butter and place the shaped dough seam-side down in the pan.
Step 5: Second Rise
- Cover and Let Rise Again
Cover the loaf pan with a towel and let the dough rise for another 30–45 minutes, or until it has risen about an inch above the edge of the pan. - Preheat the Oven
Preheat your oven to 375°F (190°C) during the last 15 minutes of the rise.
Step 6: Bake the Bread
- Bake
Place the loaf in the preheated oven and bake for 30–35 minutes, until the top is golden brown. The bread should sound hollow when tapped on the bottom. - Brush with Butter
Immediately after removing the bread from the oven, brush the top with a bit of melted butter for a soft, flavorful crust.
Step 7: Cool and Slice
- Cool the Bread
Let the bread cool in the pan for about 10 minutes, then carefully remove it and transfer it to a wire rack to cool completely before slicing.
Serving and Storing
- Serve: Slice and serve the bread as desired—perfect for sandwiches, toast, or with butter and jam!
- Store: Keep in an airtight container at room temperature for up to 3 days, or freeze for up to 2 months.
Tip: For a more intense flavor, allow the dough to rise slowly in the fridge overnight for the first rise. Just let it come to room temperature before proceeding with shaping.
Final Thoughts
This Old-Fashioned White Bread is a timeless recipe that brings out the best in simple ingredients. Its fluffy crumb and rich, buttery flavor make it the ultimate comfort food, whether you enjoy it on its own or use it as a base for sandwiches and snacks. Enjoy!
For Complete Cooking STEPS Please Head On Over To Next Page Or Open button (>) and don’t forget to SHARE with your Facebook friends
ADVERTISEMENT
